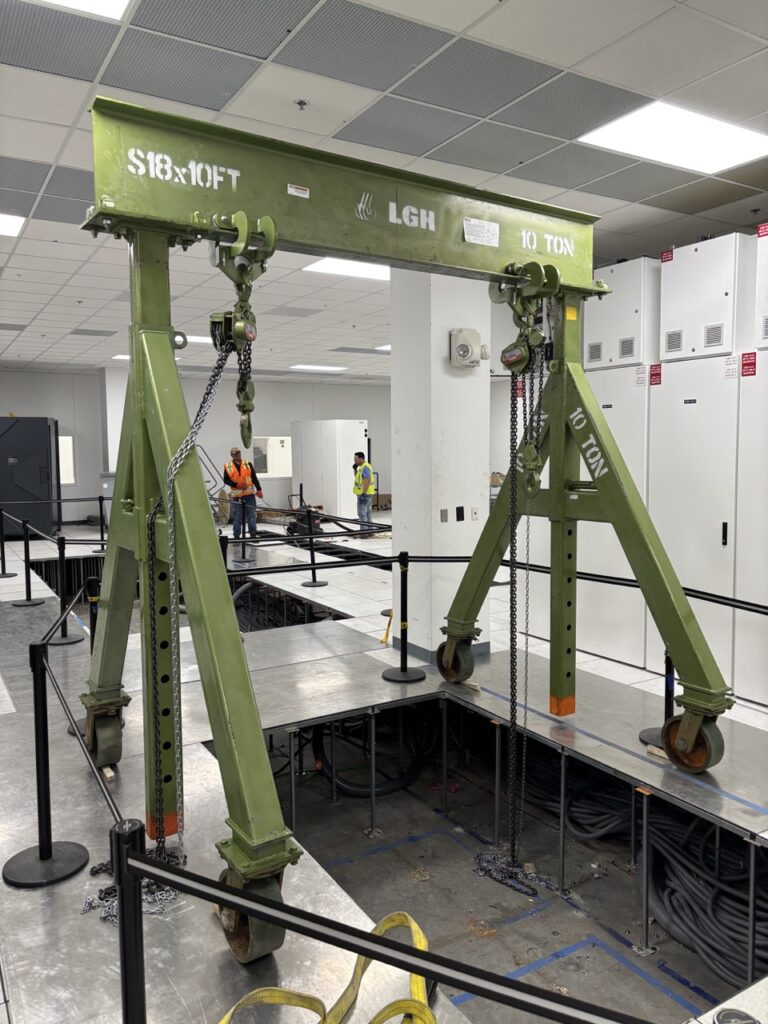
LGH portable gantry crane in a data center with beam trolleys and manual chain hoists.
Portable gantry cranes are among the most versatile lifting solutions available for rent. Also known as gantries, A-frame cranes, or portable gantry systems, these cranes allow crews to span a gap and hoist a load when there are no suitable overhead anchor points available.
At LGH, portable gantry crane rentals range from lightweight 1-ton aluminum gantries to larger-capacity steel gantries and hydraulic gantry systems. This guide focuses on how to set up a portable gantry crane using traditional aluminum or steel gantry options. Hydraulic gantry systems require a more complex setup and should be handled separately according to the manufacturer’s instructions and lift plan.
Before beginning, always review the equipment manual, confirm the gantry’s rated capacity, inspect all components, and make sure the floor or supporting surface is level and capable of supporting the load. For safety, at least two people should assemble a portable gantry crane.
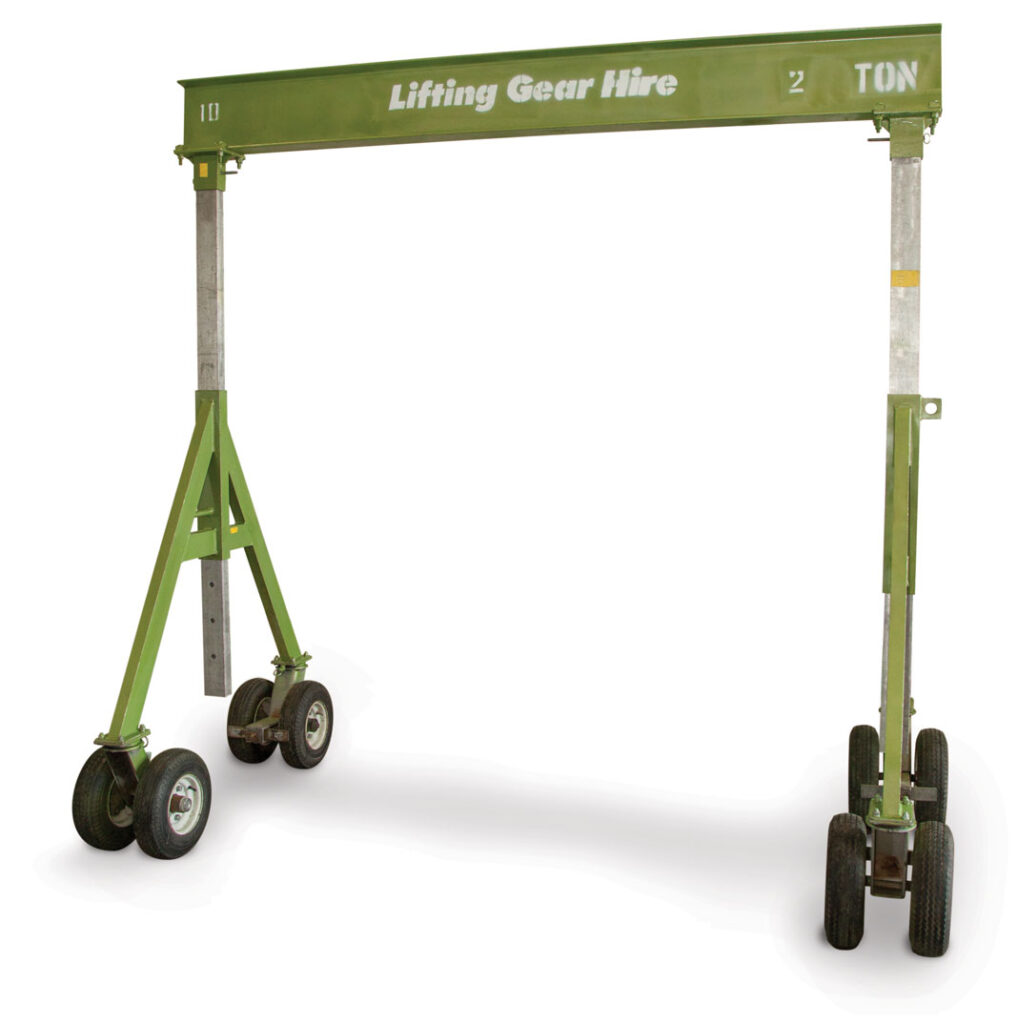
A steel gantry crane from LGH.
An aluminum gantry crane from LGH.
Hydraulic gantry from LGH
What Is a Portable Gantry Crane?
A portable gantry crane is a freestanding lifting frame used with a beam trolley, beam clamp, or hoist to lift and position loads. The system typically includes two A-frame legs, an overhead beam, top plates, inserts, set pins, and height-adjustment equipment.
Portable gantries are commonly used in maintenance, construction, mechanical, industrial, and material handling applications where a fixed overhead crane is not available. Because the system is portable, it can be assembled, adjusted, and repositioned as needed for different jobsite conditions.
How to Assemble a Portable Gantry Crane
To set up a portable gantry crane, assemble the legs and beam, secure the top plates to the leg inserts, install the trolley or hoist while the gantry is at its lowest height, and then raise the gantry evenly to the desired operating height.
Below is a general seven-step setup process for traditional aluminum or steel gantries.
Step 1: Inspect and Organize All Gantry Components
Before assembly begins, collect all gantry components in the designated setup area. Confirm that the legs, beam, top plates, inserts, set pins, come-a-longs, trolley, hoist, and any required hardware are present and in good condition.
LGH gantry legs are typically shipped with the selected insert already installed in the A-frame and secured with a spring-loaded set pin. Depending on the application, the gantry may include either long or short inserts.
Inspect each component before use. Do not assemble or operate the gantry if any part appears damaged, bent, missing, or improperly secured.
Step 2: Confirm the Top Plates Are Installed on the Beam
Steel gantry crane from LGH.
The gantry beam is typically shipped with the top plates already mounted. These top plates allow the beam to connect to the gantry leg inserts.
Depending on the gantry configuration, Lindapter clamps may be used to adjust the width when attaching the beam to the gantry legs. Before lifting or positioning the beam, confirm that the top plates are correctly installed and that the connection points are ready for assembly.
Step 3: Attach One Gantry Leg to the Beam
Position the beam and first gantry leg in the designated assembly area. Attach the top plate on one side of the beam to the insert on the first gantry leg. Once aligned, insert the set pin to lock the connection in place.
Make sure the pin is fully engaged before continuing. This connection must be secure before the second leg is raised and attached.
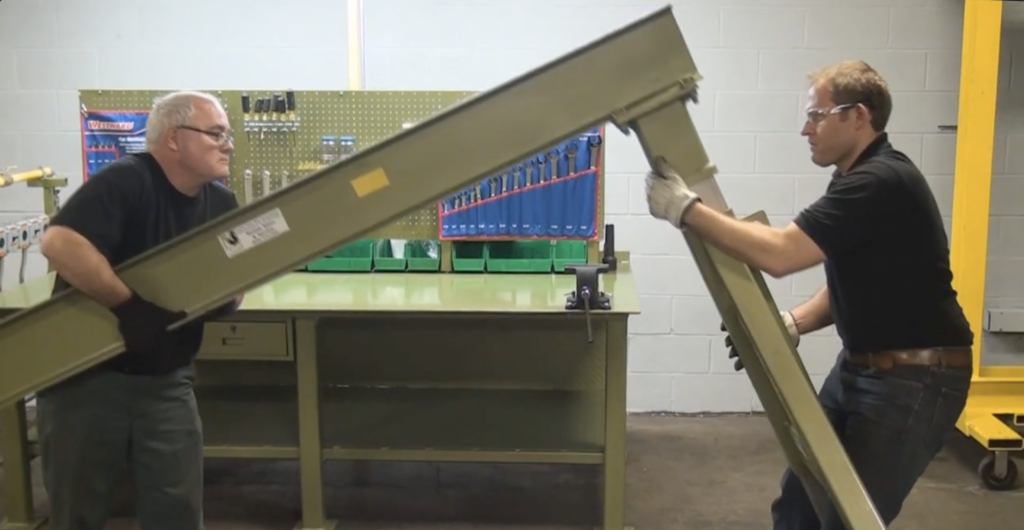
Step 4: Attach the Second Gantry Leg
With one person controlling the second gantry leg and another person supporting the first leg and beam, raise the second leg into position. Line up the top plate with the insert. Then, confirm the top plate is properly seated, and insert the set pin to lock the connection in place.
This step should be completed slowly and carefully. Keep the beam level and avoid forcing any components into position.
Step 5: Install the Trolley, Beam Clamp, or Hoist
Once the portable gantry crane is assembled at its lowest height, install the beam clamp, trolley, hoist, or monorail beam required for the application.
Installing this equipment while the gantry is low to the ground is safer and easier than trying to mount it at full operating height. Confirm that the trolley, hoist, and all rigging components are compatible with the gantry beam and rated for the intended load.
Step 6: Raise the Gantry to the Desired Height
Install the supplied come-a-longs on the side of each gantry leg and into the bottom of the insert. Retract the spring-loaded set pins and begin raising the gantry to the required height.
Both workers should raise the gantry evenly and synchronously to keep the beam level. Do not raise one side significantly higher than the other, as this can create instability and place unnecessary stress on the gantry components.
Step 7: Lock the Set Pins and Verify the Setup
Once the desired height is reached, release the set pins and confirm they are fully engaged. Before using the gantry, verify that all connections are secure, the beam is level, the trolley or hoist is properly installed, and the gantry is stable.
Perform a final inspection before attaching or lifting the load. Make sure the load weight, hoist capacity, trolley capacity, gantry capacity, and supporting surface have all been reviewed as part of the lift plan.
Portable Gantry Crane Setup Safety Tips
Before using a portable gantry crane, keep these safety reminders in mind:
Use at least two people during assembly.
Review the manufacturer’s instructions before setup.
Inspect all components before use.
Confirm the gantry capacity matches the application.
Make sure the floor or supporting surface is level and stable.
Install the trolley or hoist while the gantry is at its lowest height.
Raise both sides evenly when adjusting height.
Confirm all set pins are fully engaged before lifting.
Do not exceed the rated capacity of the gantry, hoist, trolley, or rigging equipment.
Never use a damaged or incomplete gantry system.
Conclusion
Knowing how to set up a portable gantry crane properly is essential for safe and efficient lifting. While traditional aluminum gantries and steel gantries are designed for straightforward assembly, every setup should still begin with inspection, planning, and confirmation that the equipment is suitable for the load and jobsite conditions.
By assembling the legs and beam correctly, installing the trolley or hoist at the lowest height, raising the gantry evenly, and verifying all set pins and connections, crews can create a stable lifting setup where no fixed overhead anchor point is available.
For help selecting the right portable gantry crane, trolley, hoist, or rigging equipment for your next project, contact your local LGH representative or call 800-878-7305 to speak with a rental specialist today.
LGH is North America’s largest single organization devoted exclusively to the provision of lifting and moving equipment for rent. LGH holds the most comprehensive inventory for hoisting, rigging, jacking, pulling, material handling, and safety equipment. With over 90,000 pieces of equipment, discover your next project solution at RentLGH.com.